Most runs in +1 Speed Monkey Escape are about one thing: going faster than you did last time. The Sunken Shards ask for the opposite. They reward the player who slows down, glances behind a booster pad, and wonders what’s tucked under that platform everyone else jumps right past. If you’ve been sprinting straight to the finish line, there’s a good chance you have run past several of them already.
This route walks you through where the shards are spread, how to collect them without throwing away your progress, and why the full set is worth the detour. We put it together at ReactlyBlox for players who enjoy a little exploration between speed runs.
A Quick Refresher on the Game
The official Roblox page for +1 Speed Monkey Escape, published by the 100% ALGO SHOT community, sums up the idea neatly: you run and jump on walls as a monkey, every step makes you faster, you overcome obstacles to earn wins, unlock new upgrades and rebirth to push your limits. Treadmills help you build Speed between runs, and the stages get longer and trickier as you climb.
The Sunken Shards sit on top of that loop as a side goal. They don’t replace the main race. They simply give you a reason to look around while you’re doing it.
What Makes These Shards Tricky
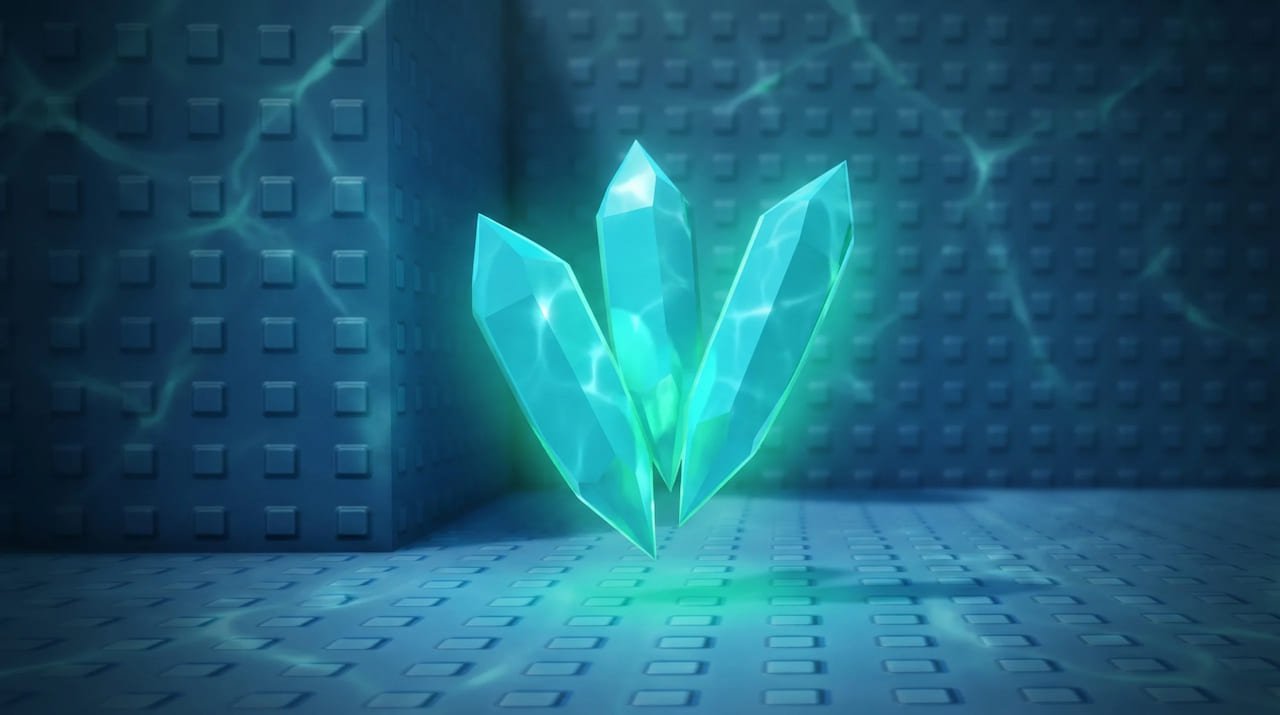
There are nine Sunken Shards in total, and none of them is placed on the obvious running line. They tend to hide beside boosters, under or behind platforms, and close to hazards, which means you usually have to step off the fastest path to grab one. The game keeps an in-game counter of how many you’ve collected, and that counter is your best friend. Check it after any risky drop so you know whether a pickup actually registered.
The other challenge is your own momentum. At high Speed, the extra reach that clears big gaps also makes it easy to overshoot narrow ledges. A shard sitting on a small platform can be harder to collect at full speed than it was on your very first run.
The Route, Section by Section
Community explorers have mapped the shards to a clear pattern across the lobby and the stages. Rather than memorizing exact coordinates, it helps to think of the route in four parts.
Part one: the lobby pair
Two shards are waiting before you even start a stage. That makes the lobby the perfect place to begin, because there’s no timer pressure and no hazard waiting to knock you off. Walk the edges of the area, look around decorations and raised spots, and don’t leave until the counter shows both. Starting your hunt with two easy pickups also confirms how the shards look and sound when you collect them.
Part two: the early stages
Stages 2, 3 and 4 each hold a single shard. These early courses are short enough that you can afford to replay them, so treat them as practice for the harder sections later. Watch for detours that branch away from the main line, especially near boosters. If a booster seems to point you somewhere strange, follow it once and see where it leads.
Part three: the water and the green platforms
Stage 6 has one shard, and Stage 7 is special because it hides two. Players often grab the first one in Stage 7 and move on, only to realize later that the counter is still short. Before leaving Stage 7, take a moment to sweep the area again. The water route and the green platforms in this part of the course are where precise jumps matter most, so this is the right moment to slow down.
Part four: the tsunami stretch
The final shard waits in Stage 9, near the section where a tsunami adds real pressure to every move. Here the trick is timing more than searching. Learn the rhythm of the wave first, make a couple of runs just to survive it, and only then commit to the detour. Trying to explore and dodge at the same time is how most attempts end early.
Movement Habits That Save Runs
Collecting shards is less about luck and more about control. A few habits make a big difference.
Aim the camera at the landing
Before any jump toward a shard, turn the camera so you can see where you’ll land. A straight approach is far more forgiving than a jump taken at an angle, and it gives you a clear picture of how much room you actually have.
Let go of the controls a little early
Your monkey carries a lot of momentum. Releasing movement slightly before the edge of a platform lets that momentum carry you onto it instead of past it. This one habit fixes most of the “I landed and slid right off” moments.
Make small corrections near walls and boosters
Big swings of the joystick or mouse are the enemy of precision. Near walls, ledges and boosters, tiny adjustments keep you on target. It feels slower, but it usually ends with the shard in your counter rather than another restart.
Don’t over-train before a shard run
It sounds strange in a game about speed, but if a particular jump keeps throwing you too far, more Speed won’t help. Clear the route with the Speed you have, then go back to training once the shard is collected.
Why the Full Set Is Worth It
According to the community guides that have documented the route, finishing the collection unlocks a special treadmill that makes your Speed training noticeably more efficient. In a game where training is a constant part of the loop, that kind of upgrade pays you back every single session. Because the exact reward could change with future updates, it’s always worth checking the in-game description once your counter is full.
There’s also a less obvious benefit. Hunting for shards teaches you every corner of each stage, and that knowledge carries over directly into your regular runs. Players who have collected all nine usually find that they take cleaner lines and lose fewer runs to silly mistakes.
A Simple Session Plan
- Warm up in the lobby. Collect the two lobby shards and get a feel for how pickups register.
- Clear the early stages. Sweep Stages 2, 3 and 4 while the courses are still forgiving.
- Take your time in Stage 7. Grab both shards, then double-check the counter before you leave.
- Practice the tsunami before hunting. Survive Stage 9 a couple of times first, then go for the final shard.
- Review the counter at the end. If you’re short, retrace the stages in order rather than jumping around at random.
Play It Safe
You might come across videos or websites claiming to show every shard instantly through outside programs or scripts. Those tools break the Roblox Terms of Use and can put your account at risk, and they also skip the part of the game that makes the shards fun. Everything on this route can be done with patience and a steady thumb.
Final Thoughts
The Sunken Shards are a reminder that +1 Speed Monkey Escape has more to offer than raw speed. Taking a detour, learning a stage inside out and nailing a tricky landing all feel rewarding in their own way. Take the route one section at a time, keep an eye on that counter, and enjoy the moment the final shard clicks into place. At ReactlyBlox we think it’s one of the most satisfying side goals the game has to offer.